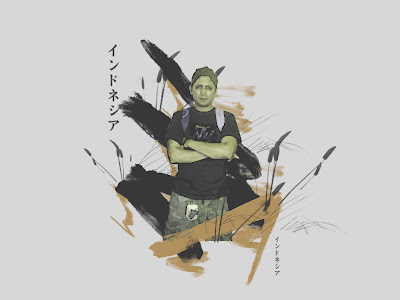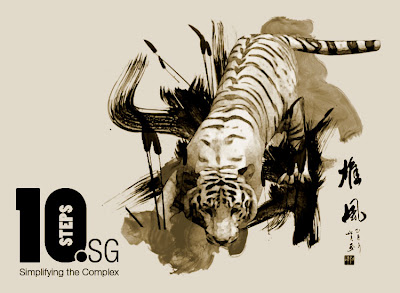

Hola's!! les quiero compartir este tutorial que en lo particular me gustó un chingo cuando lo encontré, es por si se da el caso que quieran convertir una foto cualquiera que quieran en una pintura china como la que aparece en las muestras.
Sin mas, ahi paso a paso vayan desarrollando todo el pex, en inglés porque así lo encontré :P


 Para empezar debes tener la imagen que quieras "convertir", y el respectivo pack de pinceles que vas a utilizar.


Step 1 – Setting Up Background:
Create a document of size 750 by 550px.
Fill the background with #D7D7D7.
Step 2 – Cropping the Tiger:
Next is to crop out the White Tiger with Pen tool and place it at the center of the document.Step 3 – Apply Watercolor Effect:
Select the tiger layer, go to Filter > Artistic > Watercolor.
Set the Brush Detail to 14, Shadow Intensity to 2 and Texture to 1.
Step 4 – Adding Black Strokes:
Create a new layer under the white tiger.
Load the Watercolor brush that you downloaded from Bittbox and select Sampled Brush 13.
Set the foreground color to #000000 and brush size to 450px, paint the two patches as shown in the diagram.
Create another new layer under the black strokes.
Select Sampled Brush 9 with size 250px and foreground color as #cc0000, paint a few patches of red under the black strokes.
Step 6 – Adding the Grasses:
Load the Grasslands brushes downloaded from Midnightstouch’s DeviantArt.
Set your foreground color to #000000 and select Sampled Brush 12 to paint a few strokes of weeds and grasses.
You may do the same with Sampled Brush 13.
Step 7 – Chinese Caligraphy:
This is the time for freeplay. You can add in any chinese texts you think it fits the meaning of the art you’ve done.
Otherwise you can simply add a Chinese Stamp downloaded from Krakograff.
Step 8 – Changing Colors:
We can either stop at the earlier step or adjust the colors like the one I’ve done on the left.
I created a Hue/Saturation adjustment layer at the topmost and set the Hue to 40, Saturation to 25 and Lightness to 0. Followed by another Levels layer and input the values 36, 1.03, 251.


No hay comentarios:
Publicar un comentario